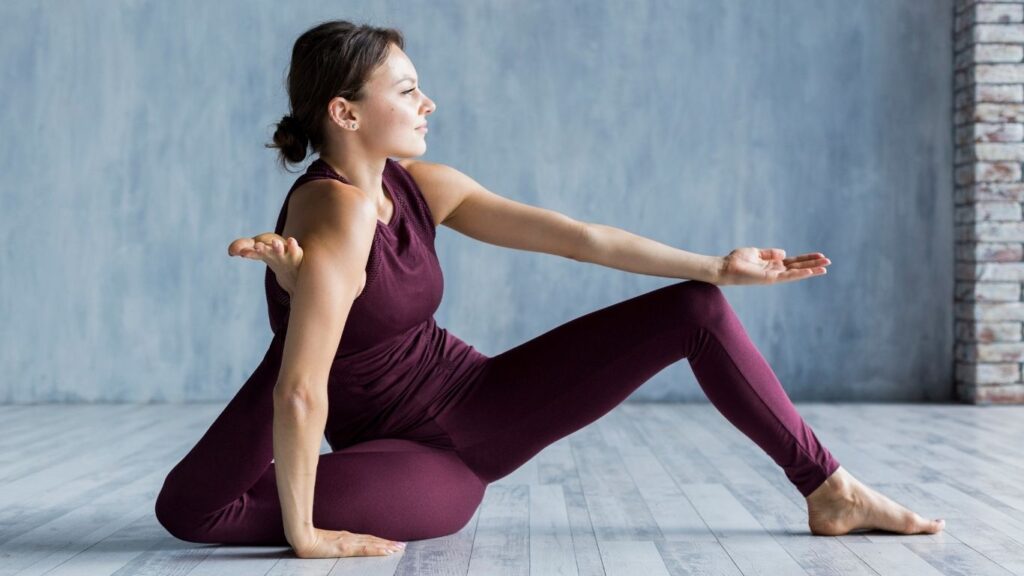
Feeling tightness and tension in your hips and shoulders can be a common issue for many, especially with long hours of sitting at a desk or working on a computer. These areas tend to store stress and can lead to discomfort, affecting posture and overall mobility. Incorporating yoga into your routine can help alleviate this tension by promoting flexibility, releasing tight muscles, and improving blood circulation. Let’s explore six yoga poses specifically designed to release tension in the hips and shoulders.
1. Downward-Facing Dog (Adho Mukha Svanasana)
Why It Works: Downward-Facing Dog is an excellent full-body stretch that targets the shoulders, hips, and spine. This pose opens up the shoulders while also stretching the hamstrings, calves, and hips.
How to Do It:
- Start on all fours, with your wrists aligned under your shoulders and knees under your hips.
- Press your palms firmly into the ground and lift your hips towards the ceiling, forming an inverted V shape.
- Keep your feet hip-width apart and your hands shoulder-width apart.
- Gently press your heels down toward the floor while reaching your chest towards your thighs.
- Hold for 5-10 breaths, feeling the stretch in your hips and shoulders.
2. Child’s Pose (Balasana)
Why It Works: Child’s Pose helps to gently stretch the hips, thighs, and back, allowing the shoulders to relax and release tension.
How to Do It:
- Begin in a kneeling position, with your big toes touching and knees spread apart.
- Sit back on your heels and lower your chest toward the ground.
- Extend your arms out in front of you, or rest them alongside your body, palms facing up.
- Allow your forehead to rest on the mat and focus on deep breathing.
- Stay in this position for 5-10 breaths, allowing your body to soften and relax.
3. Pigeon Pose (Eka Pada Rajakapotasana)
Why It Works: Pigeon Pose is particularly beneficial for releasing tension in the hips. It targets the hip flexors and rotators, helping to open the hips and improve flexibility.
How to Do It:
- Begin in a tabletop position (hands and knees).
- Bring your right knee forward and place it behind your right wrist, with your shin parallel to the mat.
- Extend your left leg straight behind you, keeping your hips square.
- Slowly lower your torso to the mat, resting your forehead on the ground or using a prop for support.
- Hold for 5-10 breaths, then repeat on the other side.
4. Thread the Needle Pose (Parsva Balasana)
Why It Works: Thread the Needle stretches the shoulders, upper back, and neck, helping to release stiffness in these areas. It also opens up the hips as a secondary benefit.
How to Do It:
- Begin in a tabletop position.
- Slide your right arm underneath your left arm, bringing your right shoulder and ear to the ground.
- Keep your left hand pressing firmly into the mat, or extend it forward for an additional stretch.
- Hold the pose for 5-10 breaths, feeling the release in your shoulder and upper back.
- Switch sides and repeat.
5. Bridge Pose (Setu Bandhasana)
Why It Works: Bridge Pose helps to open up the chest and shoulders while stretching the hip flexors and strengthening the lower back and glutes.
How to Do It:
- Lie flat on your back with your knees bent and feet flat on the mat, hip-width apart.
- Press your feet into the ground as you lift your hips towards the ceiling.
- Clasp your hands underneath your back and press your arms into the mat for extra support.
- Keep your thighs parallel to each other and engage your glutes to lift your hips higher.
- Hold for 5-10 breaths, then gently lower your hips back to the floor.
6. Cow Face Pose (Gomukhasana)
Why It Works: Cow Face Pose stretches the shoulders and hips deeply, helping to release tension that can accumulate in these areas.
How to Do It:
- Start by sitting on the mat with your legs extended in front of you.
- Bend your right knee and bring it over your left knee, stacking your legs on top of each other.
- Reach your right arm overhead and bend the elbow, bringing your right hand down your back.
- With your left arm, reach behind your back and clasp your hands together (use a strap if you can’t reach).
- Hold for 5-10 breaths, then switch sides.
FAQ Section:
Q1: How often should I practice these poses to release tension?
You can incorporate these poses into your daily routine, especially if you have a sedentary lifestyle. Practicing them 3-4 times a week can significantly help release tension in the hips and shoulders.
Q2: Can I do these poses if I’m a beginner in yoga?
Yes! These poses are beginner-friendly, but it’s important to listen to your body and avoid pushing yourself too hard. Use props like blocks or blankets for added support, and modify the poses as needed.
Q3: How long should I hold each pose?
Aim to hold each pose for about 5-10 breaths. If you’re more experienced, you can extend the duration, but don’t overdo it. The goal is to release tension without straining your muscles.
Q4: Are these poses safe for people with shoulder or hip injuries?
If you have any pre-existing injuries, it’s crucial to consult with a healthcare professional before practicing these poses. You may need to make modifications or avoid certain poses that could aggravate your injury.
Q5: Can yoga help with chronic shoulder or hip pain?
Yoga can be very effective in managing chronic pain by improving flexibility, strength, and posture. However, if you suffer from chronic pain, it’s essential to work with a physical therapist or yoga instructor who can guide you through the practice safely.
Conclusion:
Incorporating these six yoga poses into your routine can help release tension in your hips and shoulders, improve flexibility, and promote overall relaxation. With regular practice, you’ll notice reduced stiffness and discomfort, leading to a more mobile and balanced body. Make these poses a part of your daily self-care practice and feel the difference!