Introduction
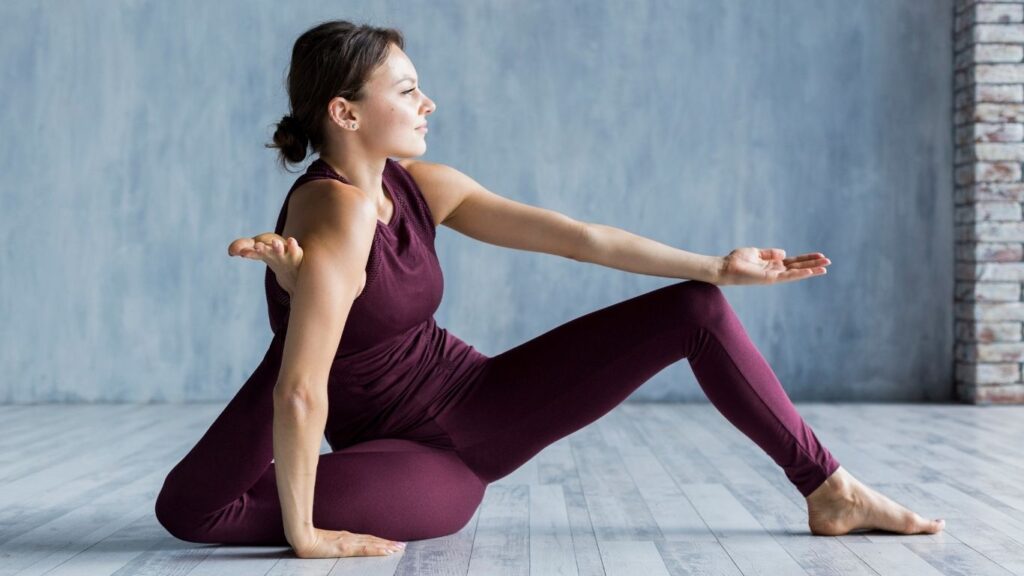
The hips are one of the most flexible joints in the body, but over time, they can become tight and stiff due to poor posture, prolonged sitting, or stress. Hip tightness can lead to discomfort, reduced mobility, and tension in other areas like the lower back. Practicing specific yoga poses can help open the hips, release tension, and restore flexibility. Here are five effective yoga poses to help you achieve hip opening and relieve tension.
1. Pigeon Pose (Eka Pada Rajakapotasana)
Why It Works: Pigeon pose is one of the best poses for deep hip opening. It targets the hip flexors, glutes, and lower back, helping to release stored tension and improve flexibility.
How to Do It:
- Start in a tabletop position with your hands and knees on the floor.
- Bring your right knee toward your right wrist and extend your left leg straight behind you.
- Lower your hips toward the floor, keeping your back leg extended and your chest open.
- Hold the position for 30 seconds to 1 minute, then switch sides.
Tip: If your hips don’t reach the floor, place a blanket or cushion under your hip for extra support.
2. Butterfly Pose (Baddha Konasana)
Why It Works: Butterfly pose is excellent for gently stretching the hips and inner thighs. It helps release tension in the groin area and can improve flexibility over time.
How to Do It:
- Sit on the floor with your legs extended straight in front of you.
- Bend your knees and bring the soles of your feet together.
- Hold your feet with your hands and gently press your knees toward the floor.
- Keep your back straight and hold the position for 1–2 minutes.
Tip: To deepen the stretch, lean your torso forward while keeping your back straight.
3. Lizard Pose (Utthan Pristhasana)
Why It Works: Lizard pose provides a deep stretch for the hip flexors and groin muscles, offering relief from tightness in the hips and legs. This pose also helps to open the chest and improve flexibility in the lower back.
How to Do It:
- Begin in a downward dog position.
- Step your right foot forward, bringing your foot near your right hand.
- Lower your hips toward the floor and bring your elbows to the ground, if possible.
- Hold the position for 30 seconds to 1 minute, then switch sides.
Tip: If your elbows don’t reach the ground, try placing a block under them for support.
4. Reclining Hand-to-Big-Toe Pose (Supta Padangusthasana)
Why It Works: This pose stretches the hips, hamstrings, and calves, helping to release tension in the lower body. It’s an effective way to lengthen the muscles in the hips while promoting relaxation.
How to Do It:
- Lie flat on your back with your legs extended.
- Raise your right leg and hold your big toe with your right hand, keeping your left leg on the ground.
- Keep your hips square and gently stretch your right leg towards your head.
- Hold the position for 30 seconds to 1 minute, then switch sides.
Tip: Use a yoga strap around your foot to help you hold the pose if you can’t reach your toe.
5. Frog Pose (Mandukasana)
Why It Works: Frog pose targets the inner thighs, hips, and groin area. It’s a deep stretch that helps release built-up tension and improve hip flexibility, especially after a long day of sitting.
How to Do It:
- Start in a tabletop position with your knees wide apart and your feet pointing outward.
- Slowly lower your hips toward the floor, keeping your knees bent and your feet flexed.
- Gently press your hips down toward the mat and hold for 30 seconds to 1 minute.
Tip: If you experience discomfort, use a cushion or blanket under your knees for added support.
Conclusion
Incorporating these hip-opening poses into your regular yoga practice can help relieve tension, improve flexibility, and increase mobility in the hips. Whether you’re looking to ease discomfort from prolonged sitting or simply enhance your overall flexibility, these poses offer a great way to keep your hips healthy and tension-free.
FAQ
1. How often should I practice these hip-opening poses?
For best results, aim to practice these poses at least 3–4 times a week. Consistency is key to improving flexibility and relieving tension.
2. Can these poses help with lower back pain?
Yes, many of these poses target the hip flexors and lower back. By releasing tension in the hips, you can alleviate pressure on the lower back and improve overall posture.
3. What should I do if I feel pain during these poses?
If you experience pain (as opposed to a deep stretch), back off and reduce the intensity of the pose. Always listen to your body and use props for support if needed.
4. Can beginners do these poses?
Yes, beginners can practice these poses. If needed, modify the poses by using props such as blocks, cushions, or straps to make them more accessible.
5. How can I deepen my hip stretches over time?
To deepen the stretch, gradually increase the duration of each pose. You can also work on improving your flexibility by incorporating regular yoga practice and focusing on your breath.